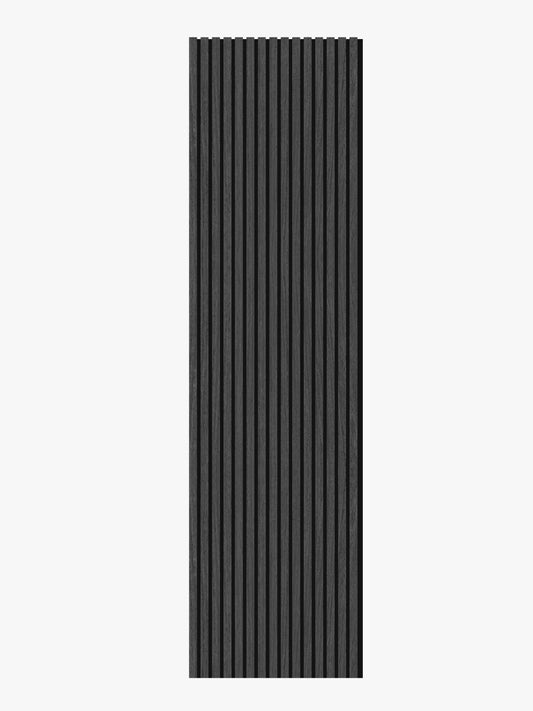
The Best Method for Installing Our Acoustic Wood Panels on Your Ceiling
Share
Are you looking to enhance the acoustics in your space while adding a touch of elegance? Installing acoustic wood panels on your ceiling can be a great solution. Follow this step-by-step guide to ensure a successful installation process.
1. Measure Your Ceiling
Start by measuring the dimensions of your ceiling to determine how many acoustic wood panels you will need. Make sure to account for any obstacles such as light fixtures or vents.
2. Prepare the Surface
Clean the ceiling surface thoroughly to remove any dust or debris. This will ensure proper adhesion of the panels. If needed, use a primer to create a smooth surface for installation.
3. Plan the Layout
Before installing the panels, plan out the layout to ensure a symmetrical and visually appealing design. You can create a pattern or simply align the panels in a straight line.
4. Apply Adhesive
Apply a high-quality adhesive to the back of each panel. Make sure to follow the manufacturer's instructions for the specific adhesive you are using. This will ensure a strong bond with the ceiling.
5. Install the Panels
Carefully place each panel on the ceiling, following your predetermined layout. Press firmly to ensure proper adhesion. Use a level to ensure the panels are straight and aligned correctly.
6. Secure the Panels
Once all the panels are in place, use finishing nails to secure them to the ceiling. Place the nails along the edges of the panels to ensure a secure fit. Fill any nail holes with wood filler for a seamless finish.
7. Enjoy the Results
Once the panels are securely installed, step back and admire the transformation. Not only will your space look more stylish, but the acoustics will also be greatly improved, creating a more enjoyable environment.


