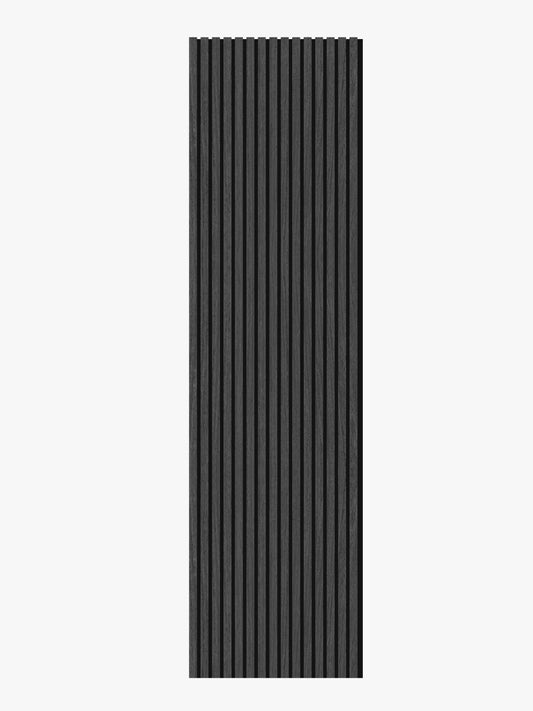
How to Install Our Acoustic Wood Panels - On Walls
Share
Are you looking to enhance the acoustics and aesthetics of your space? Installing acoustic slat wood wall panels can be a great solution. These panels not only improve sound quality but also add a touch of elegance to any room. In this blog post, we will guide you through the process of installing acoustic slat wood wall panels, step by step.
1. Measure and Plan
Before you begin, take accurate measurements of the wall where you intend to install the panels. This will help you determine the quantity of panels needed. Consider the height, width, and any obstructions such as windows or doors. Plan the layout of the panels, ensuring they are evenly spaced and aligned.
2. Prepare the Wall
Prepare the wall surface by ensuring it is clean, dry, and free from any dust or debris. If there are any imperfections, such as cracks or holes, fill them in and sand the surface smooth. This will provide a solid foundation for the panels to adhere to.
Which is the Best Method for Installing Our Acoustic Wood Wall Panels?
When it comes to installing acoustic slat wood wall panels, there are two primary methods: using glue or screws. Both methods have their advantages and considerations, so it's important to understand the differences before making a decision. In this blog post, we will explore the pros and cons of each method to help you determine which is the best option for your project.
1. Glue: A Seamless and Aesthetic Installation
Using glue to install acoustic slat wood wall panels offers a seamless and aesthetic finish. The panels are affixed directly to the wall, eliminating the need for visible screws or nails. This method provides a clean and modern look, perfect for contemporary spaces.
Additionally, glue installation ensures better sound insulation as it minimizes the transmission of sound vibrations through the wall. This is particularly beneficial in areas where noise reduction is a priority, such as recording studios, offices, or home theaters.
However, it's important to note that glue installation requires a smooth and even wall surface. Any imperfections or irregularities may affect the adhesion of the panels. Therefore, proper wall preparation is crucial to achieve a successful installation.
2. Screws: Versatility and Easy Removal
On the other hand, using screws to install acoustic slat wood wall panels offers greater versatility and easy removal. This method allows for adjustments and repositioning of the panels during installation, making it ideal for DIY enthusiasts or those who may want to change the panel layout in the future.
Screw installation also provides a stronger hold, ensuring that the panels remain securely in place. This is particularly important in high-traffic areas or environments where the panels may be subject to accidental impacts.
However, screw installation does have some drawbacks. The visible screws may not be desirable for those seeking a seamless and uninterrupted aesthetic. Additionally, the screw holes may leave small marks on the panels, which can be noticeable in certain lighting conditions.
Considerations for Choosing the Right Method
When deciding between glue and screw installation for acoustic slat wood wall panels, consider the following factors:
- The desired aesthetic: Do you prefer a seamless look or are visible screws acceptable?
- The level of sound insulation required: Is noise reduction a priority?
- The need for future adjustments or panel removal: Will you need to reposition or replace the panels?
- The condition of the wall: Is it smooth and even for glue installation?
By carefully considering these factors, you can determine whether glue or screw installation is the best method for your acoustic slat wood wall panels. Remember, both methods have their advantages, so choose the one that aligns with your specific needs and preferences.
3. Attach the Panels
Once you know how you want to install the panels, it's time to mount the panels. Start from one corner and work your way across the wall. Slide the panels into the previous one, making sure they fit snugly. Use a level to ensure they are straight and adjust if necessary.
5. Secure the Panels
After attaching the panels, secure them in place using screws or nails provided with the mounting system. Make sure to follow the manufacturer's guidelines for the appropriate fastening method. This will ensure the panels are securely fixed to the wall.
6. Finishing Touches
Once all the panels are installed, inspect the wall for any gaps or inconsistencies. Fill in any gaps with wood filler and sand the surface smooth. Apply a coat of paint or stain to match your desired finish. This will give the wall a polished look and protect the wood.
7. Enjoy the Benefits
Now that your acoustic slat wood wall panels are installed, sit back and enjoy the benefits. These panels not only enhance the aesthetics of your space but also improve sound quality by reducing echo and reverberation. Whether it's a home theater, office, or restaurant, you'll notice a significant improvement in the acoustics.
Installing acoustic slat wood wall panels may seem like a daunting task, but with the right tools and instructions, it can be a rewarding DIY project. Follow these steps, and you'll have a beautifully transformed space with improved acoustics in no time. Happy installing!


